Self-hosting Google Fonts to improve performance
My goal for my personal website, and pretty much all websites I build, is for it to load quickly on all devices and networks. Using a static website generator like Eleventy, does most of the heavy lifting to make that happen, but I still wasn't completely satisfied with the perfomance in some areas.
One of these areas was my usage of Google Fonts for all the typography on this site. I'm a big fan of Google Fonts for their vast library and ease of use, but there are a couple downsides:
- There are performance trade-offs. Because Google Fonts are hosted on Google's servers rather than your own website's, the browser has to request the web fonts from a separate third-party site before loading them onto the page.
- There may be some privacy concerns. This article does a better job of explaining the GDPR compliance issues than I can, but essentially, if your website needs to be GDPR-compliant, using Google Fonts directly may be an issue.
I was willing to accept these downsides for a long time because I figured it would be annoying to find an alternative solution, but then I stumbled across an incredibly easy solution in a module of Josh W. Comeau's CSS for Javascript Developers course (which I highly recommend!).
A step-by-step guide #
This guide assumes you're already using Google Fonts on your website today. If you're not, go ahead and add them following the directions on the Google Fonts website directly. I'll be showing how to complete these steps in the Google Chrome browser.
1. Download the font files. #
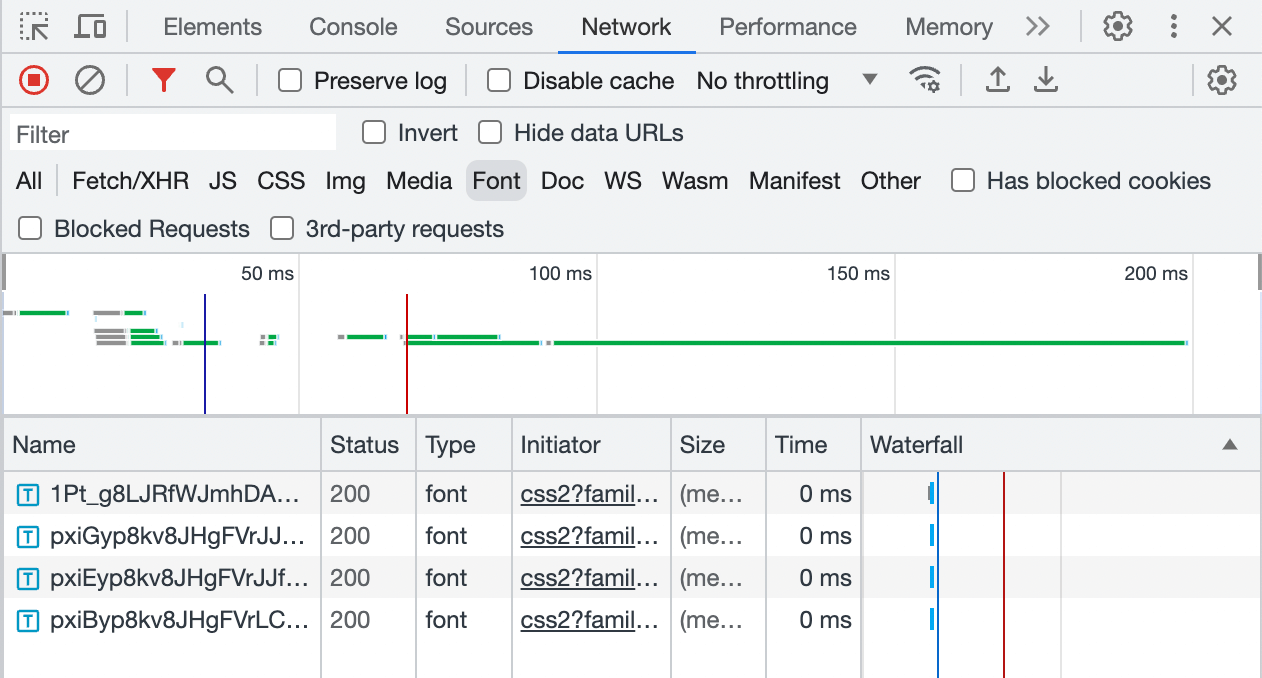
Open or create a page of your website that contains all the Google Fonts you use, then right-click and select Inspect to open Chrome DevTools. In the Network tab, filter on the Font category, then reload your page to see all the fonts on that page:
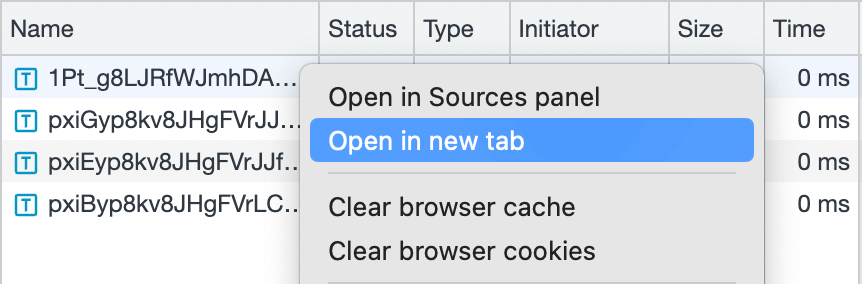
To download the font files, right-click on each of the fonts and click Open in new tab to immediately start the download of the .woff2 font files:
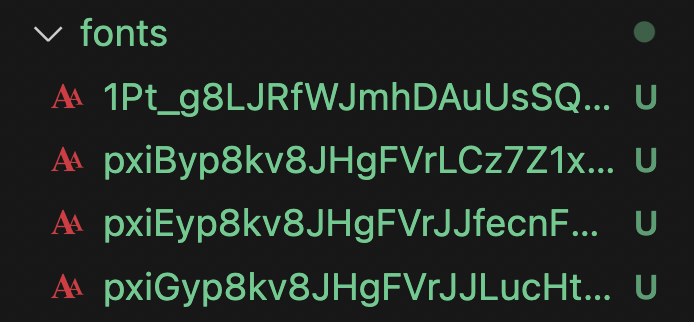
Finally, add these .woff2 font files to a /fonts folder on your website:
2. Grab the necessary CSS. #
Now that we have the font files hosted on our own website, we just need to point our CSS in the right direction! To do that, find the Google Fonts snippet you pasted upon installation into the <head> of your website, which should look something like this:
<link rel="preconnect" href="https://fonts.googleapis.com">
<link rel="preconnect" href="https://fonts.gstatic.com" crossorigin>
<link href="https://fonts.googleapis.com/css2?family=Comfortaa&family=Poppins:ital,wght@0,400;0,700;1,400&display=swap" rel="stylesheet">
Copy the URL to the Google Fonts CSS out of that snippet, which in this case is: https://fonts.googleapis.com/css2?family=Comfortaa&family=Poppins:ital,wght@0,400;0,700;1,400&display=swap.
When you navigate to that URL, you'll see the CSS snippets we need to grab. Assuming your website uses English (thus standard Latin characters), you'll only need to grab the blocks labelled latin, but feel free to grab as many as you need to pair with your previously-downloaded font files!

Paste those blocks into the top of your website's stylesheet, and we can then modify them to point to your own self-hosted fonts.
A block like this:
@font-face {
  font-family: 'Comfortaa';
  font-style: normal;
  font-weight: 400;
  font-display: swap;
  src: url(https://fonts.gstatic.com/s/comfortaa/v45/1Pt_g8LJRfWJmhDAuUsSQamb1W0lwk4S4WjMDrMfJh1Zyc61YA.woff) format('woff');
  unicode-range: U+0000-00FF, U+0131, U+0152-0153, U+02BB-02BC, U+02C6, U+02DA, U+02DC, U+0304, U+0308, U+0329, U+2000-206F, U+2074, U+20AC, U+2122, U+2191, U+2193, U+2212, U+2215, U+FEFF, U+FFFD;
}
will have the src property modified to point to your self-hosted font:
@font-face {
  font-family: 'Comfortaa';
  font-style: normal;
  font-weight: 400;
  font-display: swap;
  /* The URL below should point to your saved font file */
  src: url(/fonts/1Pt_g8LJRfWJmhDAuUsSQamb1W0lwk4S4WjMDrMfJh1Zyc61YA.woff) format('woff');
  unicode-range: U+0000-00FF, U+0131, U+0152-0153, U+02BB-02BC, U+02C6, U+02DA, U+02DC, U+0304, U+0308, U+0329, U+2000-206F, U+2074, U+20AC, U+2122, U+2191, U+2193, U+2212, U+2215, U+FEFF, U+FFFD;
}
Are your fonts still not loading correctly?
Ensure that your new/fonts folder is being passed through correctly to your website's output folder. For example, if you're using Eleventy, you need to modify your .eleventy.js file to copy that folder to the _site output folder by adding:
eleventyConfig.addPassthroughCopy("fonts");
3. Delete your old Google Fonts installation. #
You've now pointed your CSS at your self-hosted font files, so we can remove our original Google Fonts installation code. Go back to the <head> tag of your site and remove the lines associated with Google Fonts:
<!--See ya never, Google Fonts snippet! Remove these lines below.-->
<link rel="preconnect" href="https://fonts.googleapis.com">
<link rel="preconnect" href="https://fonts.gstatic.com" crossorigin>
<link href="https://fonts.googleapis.com/css2?family=Comfortaa&family=Poppins:ital,wght@0,400;0,700;1,400&display=swap" rel="stylesheet">
And that's all there is to it! You should see an immediate performance improvement from this change. For my own website, this meant going from these mobile metrics for a particularly font-heavy page:

to these:

Not bad for such a quick, easy change!